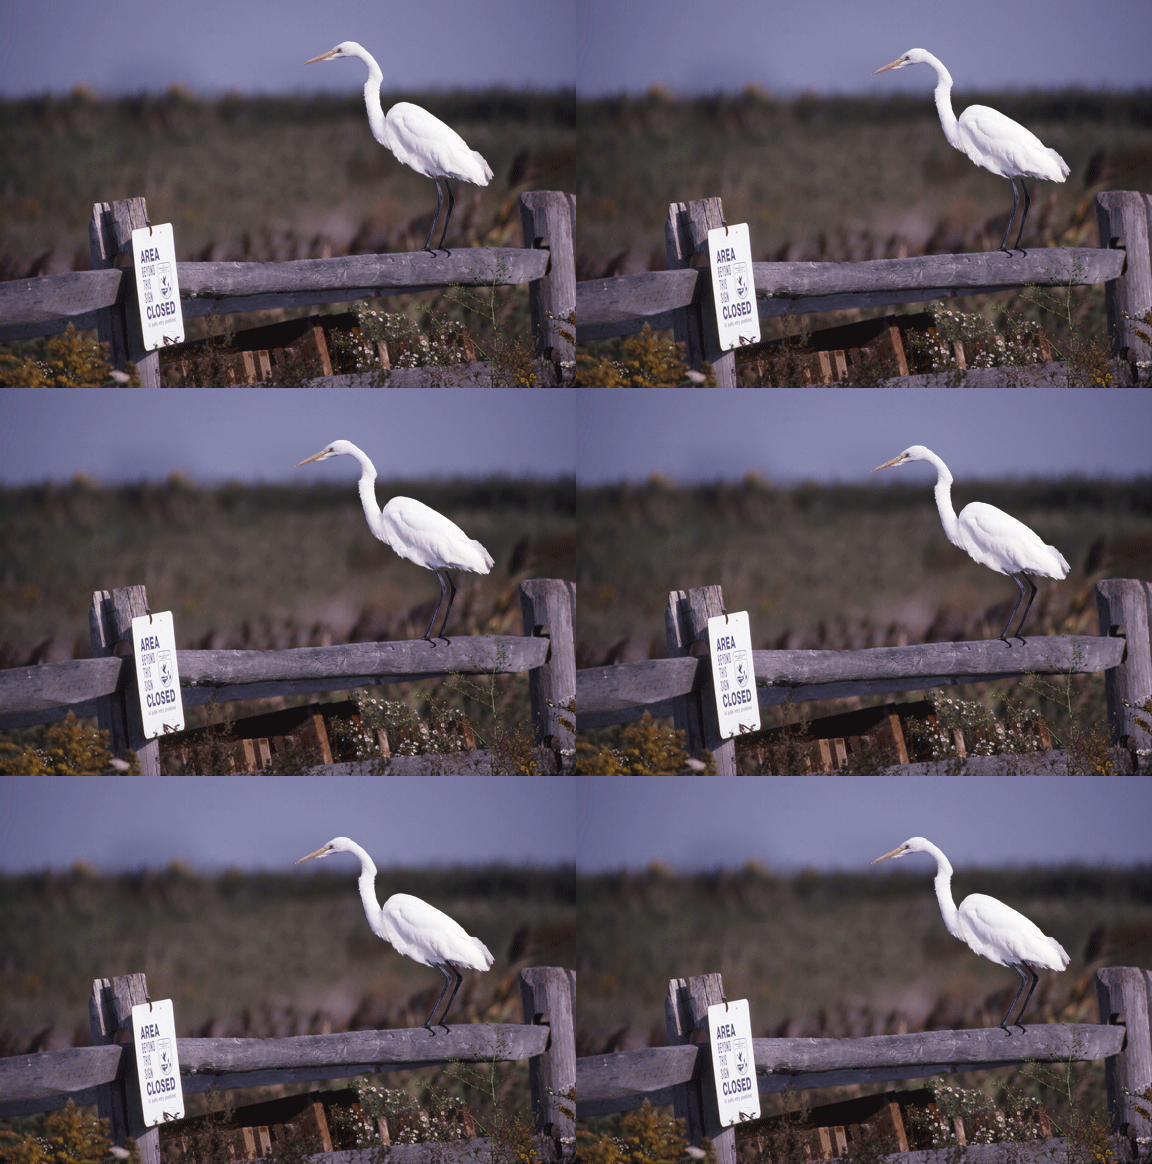
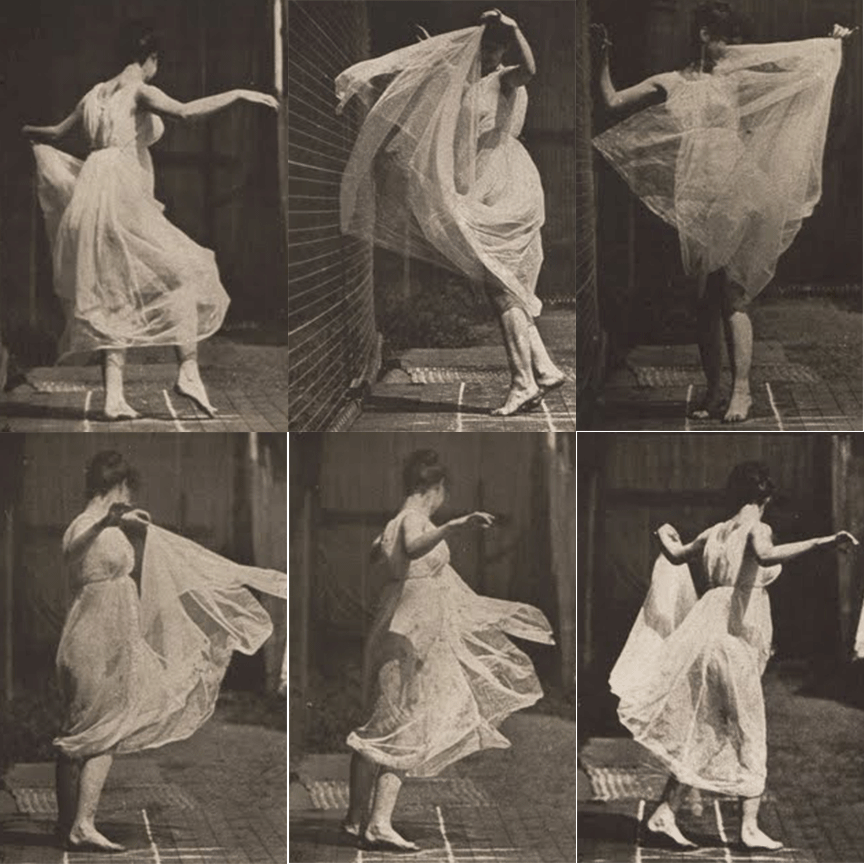
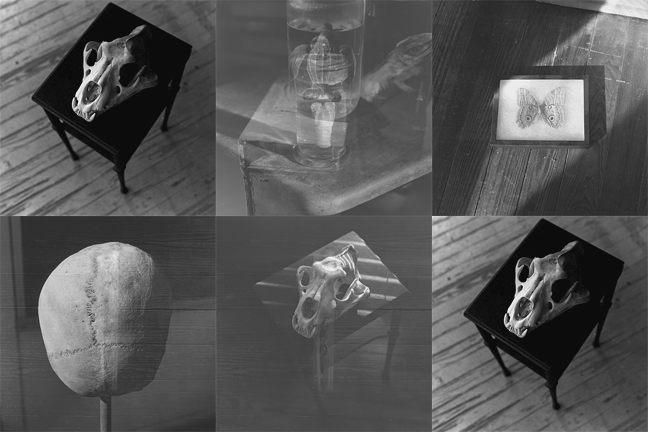
Animated Gif
or you can make one from photographic imagery...  For today, try to get through this much of the exercise:
Make it relatively small: 4 x 5 inches at 72 ppi (pixels per inch) Do any selection of a figure--copy it to its own layer Do any repair of the background (if the figure came from the same image--repair the hole, as it were) Save as a psd Now that we have a figure with context (or ground), we will create the animation We will make many copies of the figure, moving it a tiny bit as we do so This is the part that takes patience and organiztion I'll show you with my dancing bird (demonstration here) Now you do it Copy the figure (which may be a folder of parts that make up a figure, like my bird) Move the figure a bit Copy the layer and repeat the process You will work from the bottom layer to the top These layers will become the "frames" of the animation Our initial working critique for the animated gif will be at the end of class this Thursday, with a final critique first thing next Tuesday. Demo: Animated Gif If you've used your time well over the weekend, you've made the individual pieces for an animated gif in Photoshop. The separate pieces, or the "frames" of your animation, should exist as individual layers in a single Photoshop document (PSD). These frames should be in sequential order in the layers palette going in either direction (top to bottom, or vice versa). There are two ways to animate this puppy, depending on how you built your layers. If you have a small element that floats above a background, use this first example. On the other hand, if you built each layer with the background, use the second, quicker, version.  Example one: small element floats over background
Now go to menu bar => window => workspace => motion. A new "timeline" palette will open on your desktop. Make sure it is in frame mode and not video timeline mode--see small icon in lower left to switch if needed. You should see one frame already in the window--the visible layer in your layer palette. We now want our second layer to be saved as the second frame in the animation palette. Go back to the layers palette and make visible the second layer only (in addition to the background). Now go to the pull down menu within the animation palette (upper right corner) and select "new frame". This will put the second layer into the animation palette as the second frame. It should be the layer you selected (by making visible). Repeat this procedure until you have a frame for each of the layers in the animation palette. When that is all done, set the time delay for your animation (in frames per second). Firstly, select all the frames in the animation--click on the first frame, then click on the last while holding down the shift key. With all the frames selected, go to the bottom of any frame and change the setting to .1 or .2 of a second. Also, change the loop button (lower left corner of the animation window) to say "forever". Hit the play button to see how the animation is working.  Example two: each layer has background built in.
If you have done it this way, open the animation palette. Make sure it is set in the frame mode (see above for details). Go to the pull down menu in the animation palette and say "make frames from layers". Go above again for more details on time delay and loop mode.
Two final things to be aware of...  Tweening  Cinemagraph |
Next Page
Back to Index Page