Stroke and Fill a Path or a Selection Image and Path
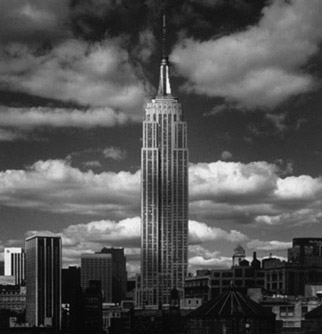
open it in photoshop change mode to rgb check for a path activate the path make a selection in the path palette, feather one pixel copy and past, just so we have an extra building check this in the layer palette
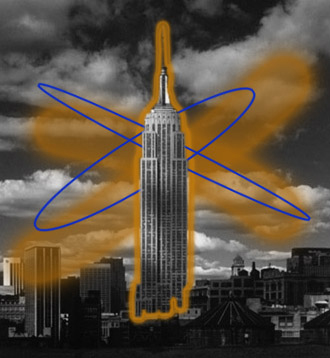
make a warm color in the foreground color click on the paintbrush tool and look at options bar make a brush size of 21 make sure "wet edges" box is checked go to paths and activate the path once again go right there in the path palette pull down menu and hit "stroke path" choose paint brush and hit ok go to layers and turn the extra esb on and off to see the wet edges
with the ellipse tool, draw a narrow ellipse on this new layer it will have to be horizontal for now now go up to menu bar, edit, stroke...
make the color cool so it contrasts with the wet paint deselect make a duplicate layer and turn the other way
go back to a warm color tool box, paint brush (or airbrush), make brush size 65 draw a large "x" behind the blue ellipses and the building save this psd for a few minutes, i want to show you something below...  No Tween Here
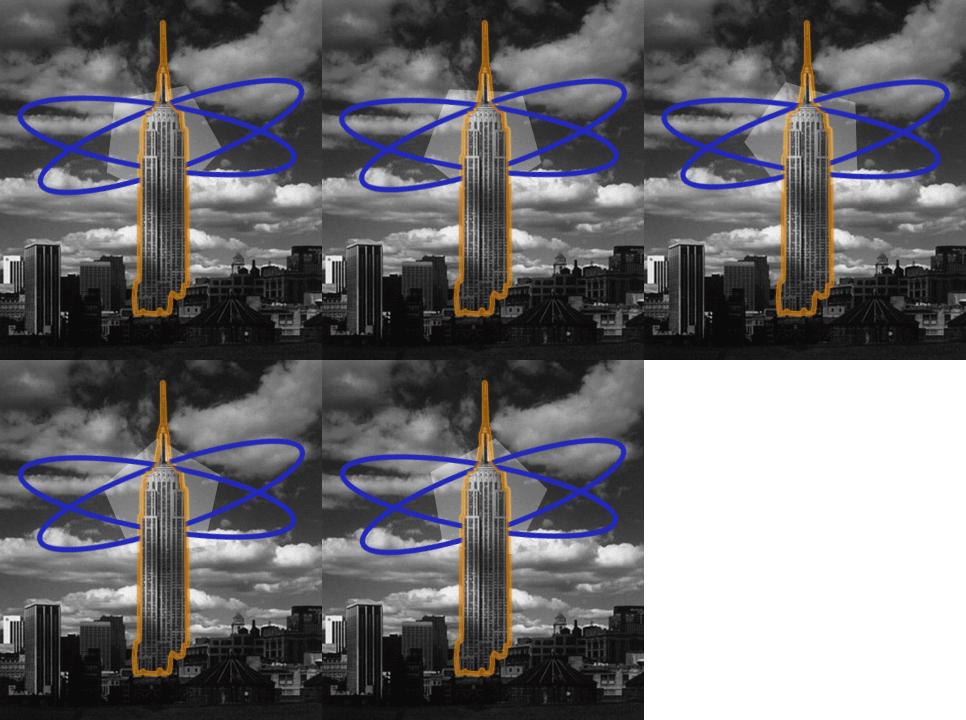
one thing i wanted to show you in this regard is when you rotate something go back to our empire state building and click on a layer that has a blue ellipse menu bar, edit, transform, rotate... look up at the options bar...you can set precise degrees for any movement there this is good for animated gifs, where you might want smooth movement to occur when completed, i put the psd's in a folder named "psd"
menu bar, file, import, folder as frames you can select all frames, change time, etc the important thing i want to show you is in the animation palette pull-down menu remember to "optimize animation" there, as it will save tons of room it does this by eliminating redundant pixels Rollover!  You'll need two pictures...
borrow this code...menu bar, view, page source. copy all the extra code up in the "head", and the stuff here where the picture is. you'll just have to change the names of the images (mine are "ro1.jpg" and "ro2.jpg") and their size. or...open your simple page in dreamweaver, and insert the rollover that way. |
Next Page
Back to Index Page