|
Basic Photoshop Photoshop Screen Layout
Don't double click on the image file, as that will have it open in Preview Drag the file over the Photoshop alias (PS) in the launcher  Navigating Around an Image
Also up there: mode and bit-depth At the bottom if you hold you mouse down: size and resolution Also look at the tool box on the upper left, and palettes on right
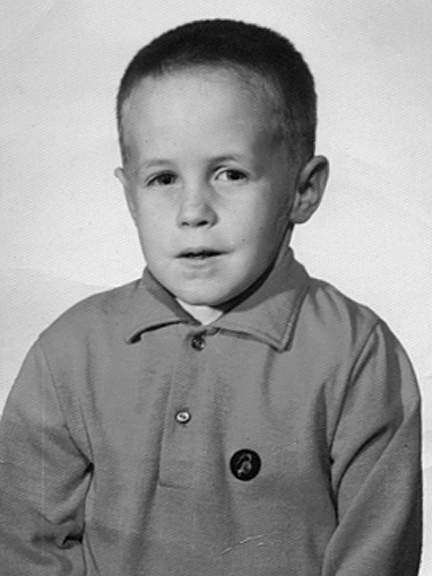
File size equals width x height x color depth RGB: 3 channels of grayscale Color files will be three times as large as a grayscale one of the same resolution Remember to SAVE as you go Use "save as" to keep many versions of something without altering your master Image Optimization  use the above image for this tutorial Rotate and crop--do this with the tool first (rotate, then crop) Adjust lightness--menu bar, image, adjustments, levels
Move the little markers (triangles) below the histogram: move the end markers to where the main information begins. Sharpen--menu bar, filter, sharpen, unsharp mask
Radius: 1.0 pixel Threshold: 0 levels Name and save--use tif or psd as master, jpg for web or to save space For others see the site: file formats Image Basics  mode, new, select all, cut, paste, color picker, fill, blending modes, layers Duplicate an image
First, change the mode to rgb, so we can play with color
Copy (command "c" copies the selection) Make a new file: menu bar, file, new, ok
Paste (again using shortcut--command "v" pastes the selection) Now we have two with which to play
Double click on the foreground color Select a dark blue (look at slider and selector circle) Back to image, select all Menu bar, edit, fill Look at foreground/background, opacity, and blending mode Fill this layer with your blue color on "soft light" blending mode at 100% opacity Hit OK
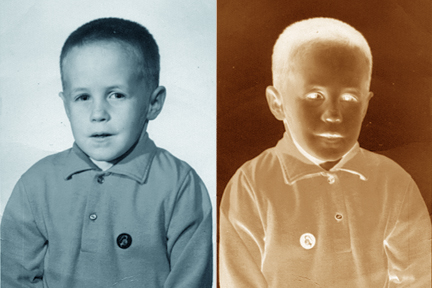
Menu bar, image, rotate canvas, flip horizontally Give it a wash of warm color tool box, color picker, select an ochre Select all (command "a") Menu bar, edit, fill (use soft light again)
Menu bar, image, canvas size Move anchor point to right or left, then double the width Click on the other image, select all, copy Back to first, wide, image and paste
Active layer is blue Look at small trash can, small menu, what's visible (eye icon) Activate top layer Tool box, move tool (arrow keys to tweak) Menu bar, layer, flatten image 
Note color difference here: warm/cool
File Format Primer Now that we're "saving" images, let's take a moment to talk about file formats. Here are some of my favorites and what I use them for...
|
Next Page
Back to Index Page