The Extract Command: A Masking Selection Device grab this pic
menu bar, image, extract you get a full-sized preview and an extra tool box with this command click on the edge-highlighter set brush size to 15 set "smooth" to 10 draw over the edge of my head and body with the high-lighter place half of the marker on the background, half on my person make a complete circuit, even at the edge of the photo (bottom-right corner) go to the fill bucket click on the inside shape of your marking it should fill with blue hit "preview" now click on the edge touch up tool... use use this tool along the edges of my sweater do not use on my hair, as you will ruin the fine work "extract" has done there hit "ok", back in the regular window now... use the eraser to clean up parts you want transparent and the history brush to clean up the parts you want to show make a new layer fill with a color re-shuffle to bottom if need be  Liquify 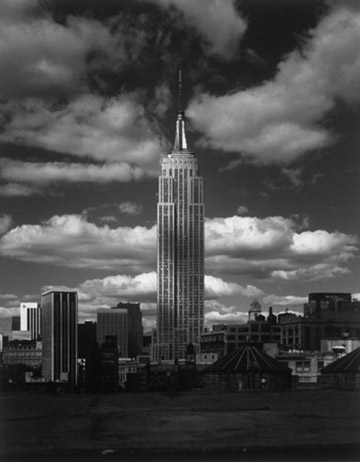 grab this pic
menu bar, image, liquify once again, you get a full-sized preview and an extra tool box with this command try the following tools:
pucker and bloat shift pixels reflection you have the "reconstruct" tool as well... be careful, but have fun and when you're done... also: check out the new sizing tool with 6.0:
follow prompts in both cases, photoshop takes you through steps to resize or export the image for print or web 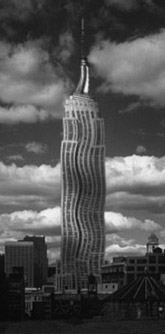 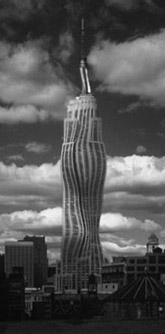 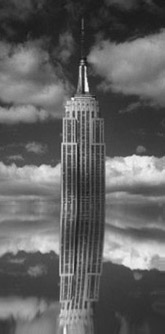 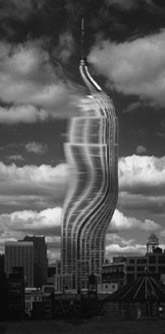 |
Next Page
Back to Index Page