More on Selection & Effects
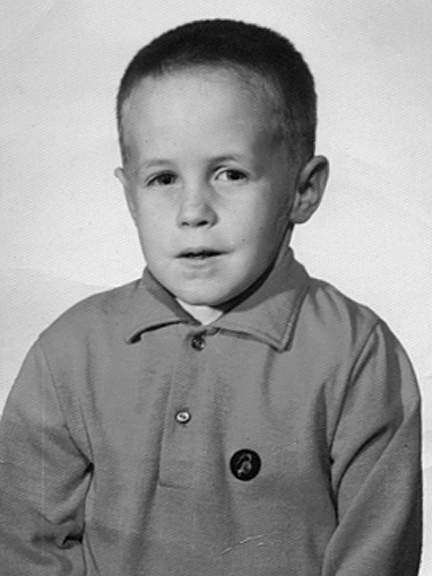 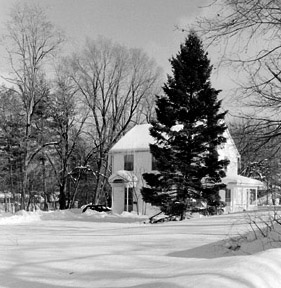 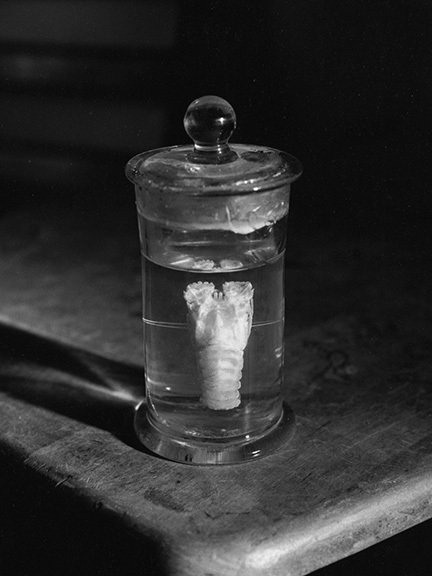  selection using magic wand, quick mask, paths, & intro to layer effects copy the above four pics to "visifun" folder for use in these tutorials selection using magic wand
let's work on "rich" first tool box, click on the magic wand tool--look up at options bar for any options for any particular tool set the tolerance at 30 and put a check in the anti-alias box touch the tool on the background of the pic look at the marching ants--the background has been selected let's say you want to select Richard instead of the background--menu bar, select, inverse let's also say you want to make the edge soft--so it your subject will blend nicely against a new background: options bar, refine edges, feather, set at 1 pixel this softening of a selection can also be set on the options palette with some tools such as marquee and the lasso let's see the effect: while rich is selected, use the copy command click on "house" paste him down move him to the corner with the move tool at this point you could color figure (warm) and ground (cool) if you like when happy, flatten (apple "e") 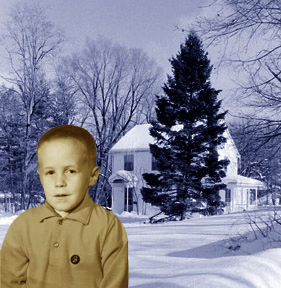
selection using paths 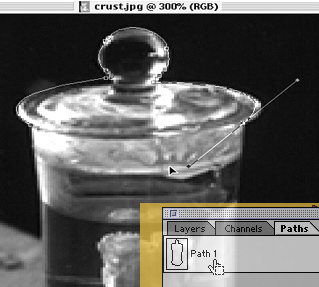
creating a path
it is also a way to save a selection and it won't take as much room--object oriented work on the little crustacean once again ("crustwo.jpg" this time) re-grab from the web page if you've not got a clean copy look at the layers palette, click on paths tab look for tiny pull-down menu on that palette say "new path" "path 1" is ok first, use apple "+" to make the image larger tool box, pen tool, click around the edge of the jar use normally and you will get straight-line selections quickly rough out a path around the jar notice how the cursor changes when the circuit is complete look at the paths palette--you can name this path or photoshop will call it "path 1" you can discard the path like a layer now let's try a curve now--click, move mouse, click again but hold down and drag one way or the other--you can follow the contour of an object this way this will make a continuous curve, not too useful here, but we'll come back to it and now for non-continuous curves: notice once again when you come all the way around to see small circle by cursor when circuit is complete.
copy and paste this in "earth.jpg" saving this file will save the path for future use if you're having a rough time with paths, grab this version of the picture, crustw.jpg--it should have the path saved with it more on layers, effects, and "transform" 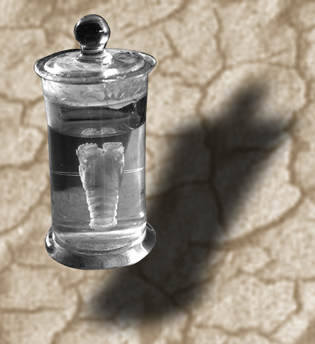
creating some effects
make sure the proper layer is active--the layer palatte is with the path palatte: look at the little tabs use these settings
distance 30 spread 30 size 30
menu bar, layer, layer style, create layer a new layer with appear with only the drop shadow on it select that new layer now go to menu bar, edit, transform, distort grab the box at the top and shift to the right to make it look like the shadow recedes into distance hit enter to finish the transform
flatten the image and save |
Next Page
Back to Index Page