|
Notes on Type When you use the type tool, a new editable type layer will be created. Many things can be changed on this layer after its been created, which is splendid. You'll see a new layer created when you add text, just double-click on that layer, and you can make changes very easily. Now, this editable layer is object oriented, not raster-based. This means that you can't do some effects (such as filters) on type until the layer has been rendered into pixels (menu bar, layer, rasterize, type). But make sure you're done with changes, such as size and position, before you do this. Or better yet, make an extra layer of your type (layer palette, duplicate layer) in case you mess it up with effects. Another thing about this editable layer--it will not work on an image that is in the "index-color" mode. Sometimes one has to change the mode of an image to rgb, work on the "look" of the piece, then change the mode back to "index color" when you think it's finished. Usually it is a good thing to use the anti-alias effect for your type. This will smooth out the edge of the type once it is rendered into pixels. Text 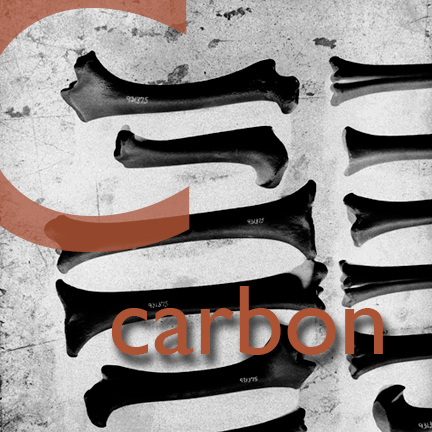 use type tool, change font, color and size in dialog box. copy bones from the web and save to "visufun" folder open "bones" in photoshop change the mode to rgb tool box, type tool, click within image area look up at options bar:
highlight some of the text and change its size--make it big for this demo
you can play with its opacity here or try a blending mode--try "difference" (but you can only do the entire layer with this blending-mode effect) you might want to also lighten the background under the text--try the following
Type Effects 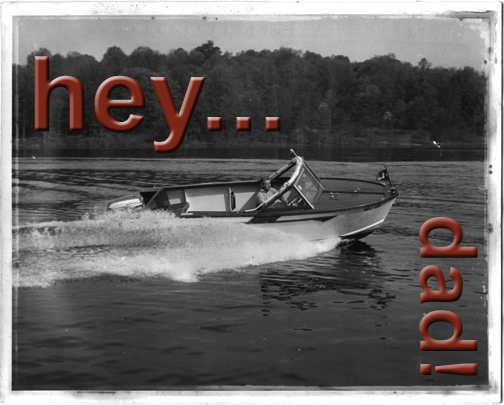
copy boat and save to "visifun" folder open boat in Photoshop (this one is already rgb) tool box, color picker, make a color for the type you'll see that the type tool loads the foreground color automatically try a nice burgundy tool box, type tool, click the image somewhere put in "hey" move around with the move tool now try the vertical type tool--click on that in the options bar and type "dad" or, type horizontally and rotate with menu bar, edit, transform, rotate 90 degrees CW menu bar, layer, layer style, emboss, play with depth copy that effect to the "hey" layer by dragging the effect to the other layer in the layers palette flatten and save dad if you like Image/Text 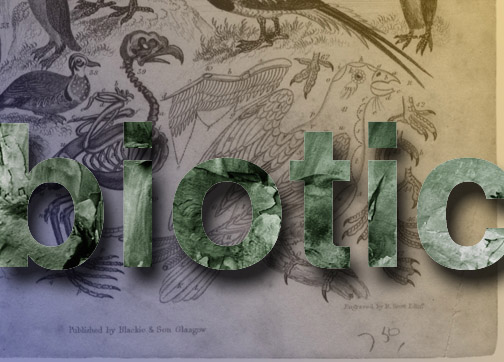
more layer effects, and talk about color basics just a bit. copy the following two images, limestone and ornithology open the images in photoshop, make sure both are rgb prep ornithology
go to the tool box and choose two complimentary colors in the color picker activate the top (blank) layer and select the gradient tool from the tool box double-click on that tool and make sure the options palette says "foreground to background" go to the image with the gradient tool and draw a line with the gradient tool from one corner to the opposite you'll see the color appear over top the image lower the opacity of the gradient layer to 50% (options palette or layers palette) or use softlight
choose the outline type tool and type "biotic" make the type bold and very large (170), one word don't use the move tool, but carefully use the type tool to move it when you have it positioned over the texture to your liking, then the move tool in the toolbox you'll see marching ants around the text now, hit apple "c" to copy it back to the orn.jpg now...activate it copy the type into that picture with "command v" click on the move tool and adjust the limestone's position click on the text layer and go to menu bar, layer, effects, drop shadow done In-Class Exercises
 In-Class Exercise: if you want to try some of these, here are some insructions to get you started:
outline type tool
gradient tool ellipse tool filter: sphereize
duplicate layers complimentary colors new layers opacity feathered selection |
Next Page
Back to Index Page